
How to Create Invoices in Time Reports Pro
Stop manually typing line items. Generate professional invoices directly from your Google Calendar events in seconds.
Time Reports Pro doesn't just list your meetings; it understands Billable Work. By tagging your events with items from your Product Catalog, you can instantly generate a Google Sheet invoice ready to send to your clients.
How to Create Your First Invoice
Follow this guide to set up your billing workflow.
Step 1: Configure Your Product Catalog
Before you can bill a client, you need a list of services or products to bill for.
1. Open the Time Reports Pro add-on in your calendar sidebar.
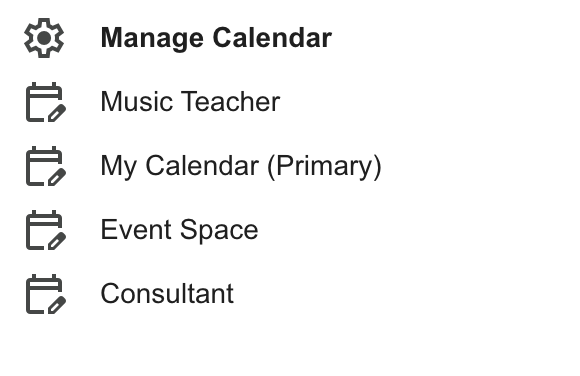
2. If you are new, click "Setup New Calendar" (or "Manage Calendars" located under Settings if you are already set up) and select the calendar you will be invoicing.
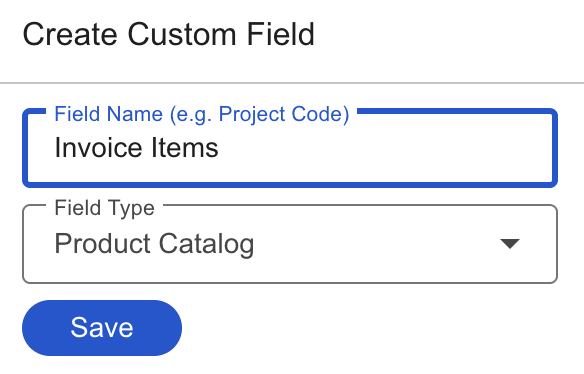
3. Crucial Step: You must create a Custom Field with the type "Product Catalog".
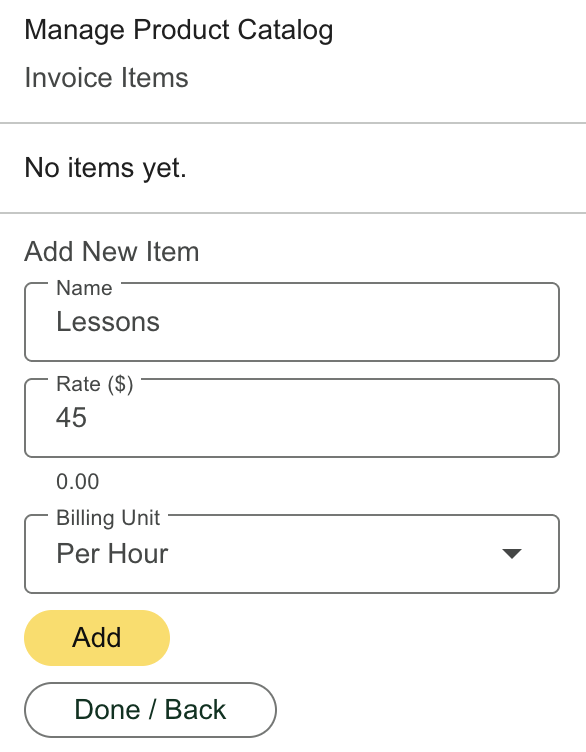
4. Select “Manage List Items/Options” and add your billable items to this field (e.g., "Consulting - $150/hr" or "Equipment Rental - $50/flat").
Not sure which Field Type to use?
Read our Guide to Custom Field Types to understand the difference between Dropdowns, Text, and the Product Catalog.
Step 2: Tag Your Events
Now that your catalog is ready, you need to tell the app which events are billable.
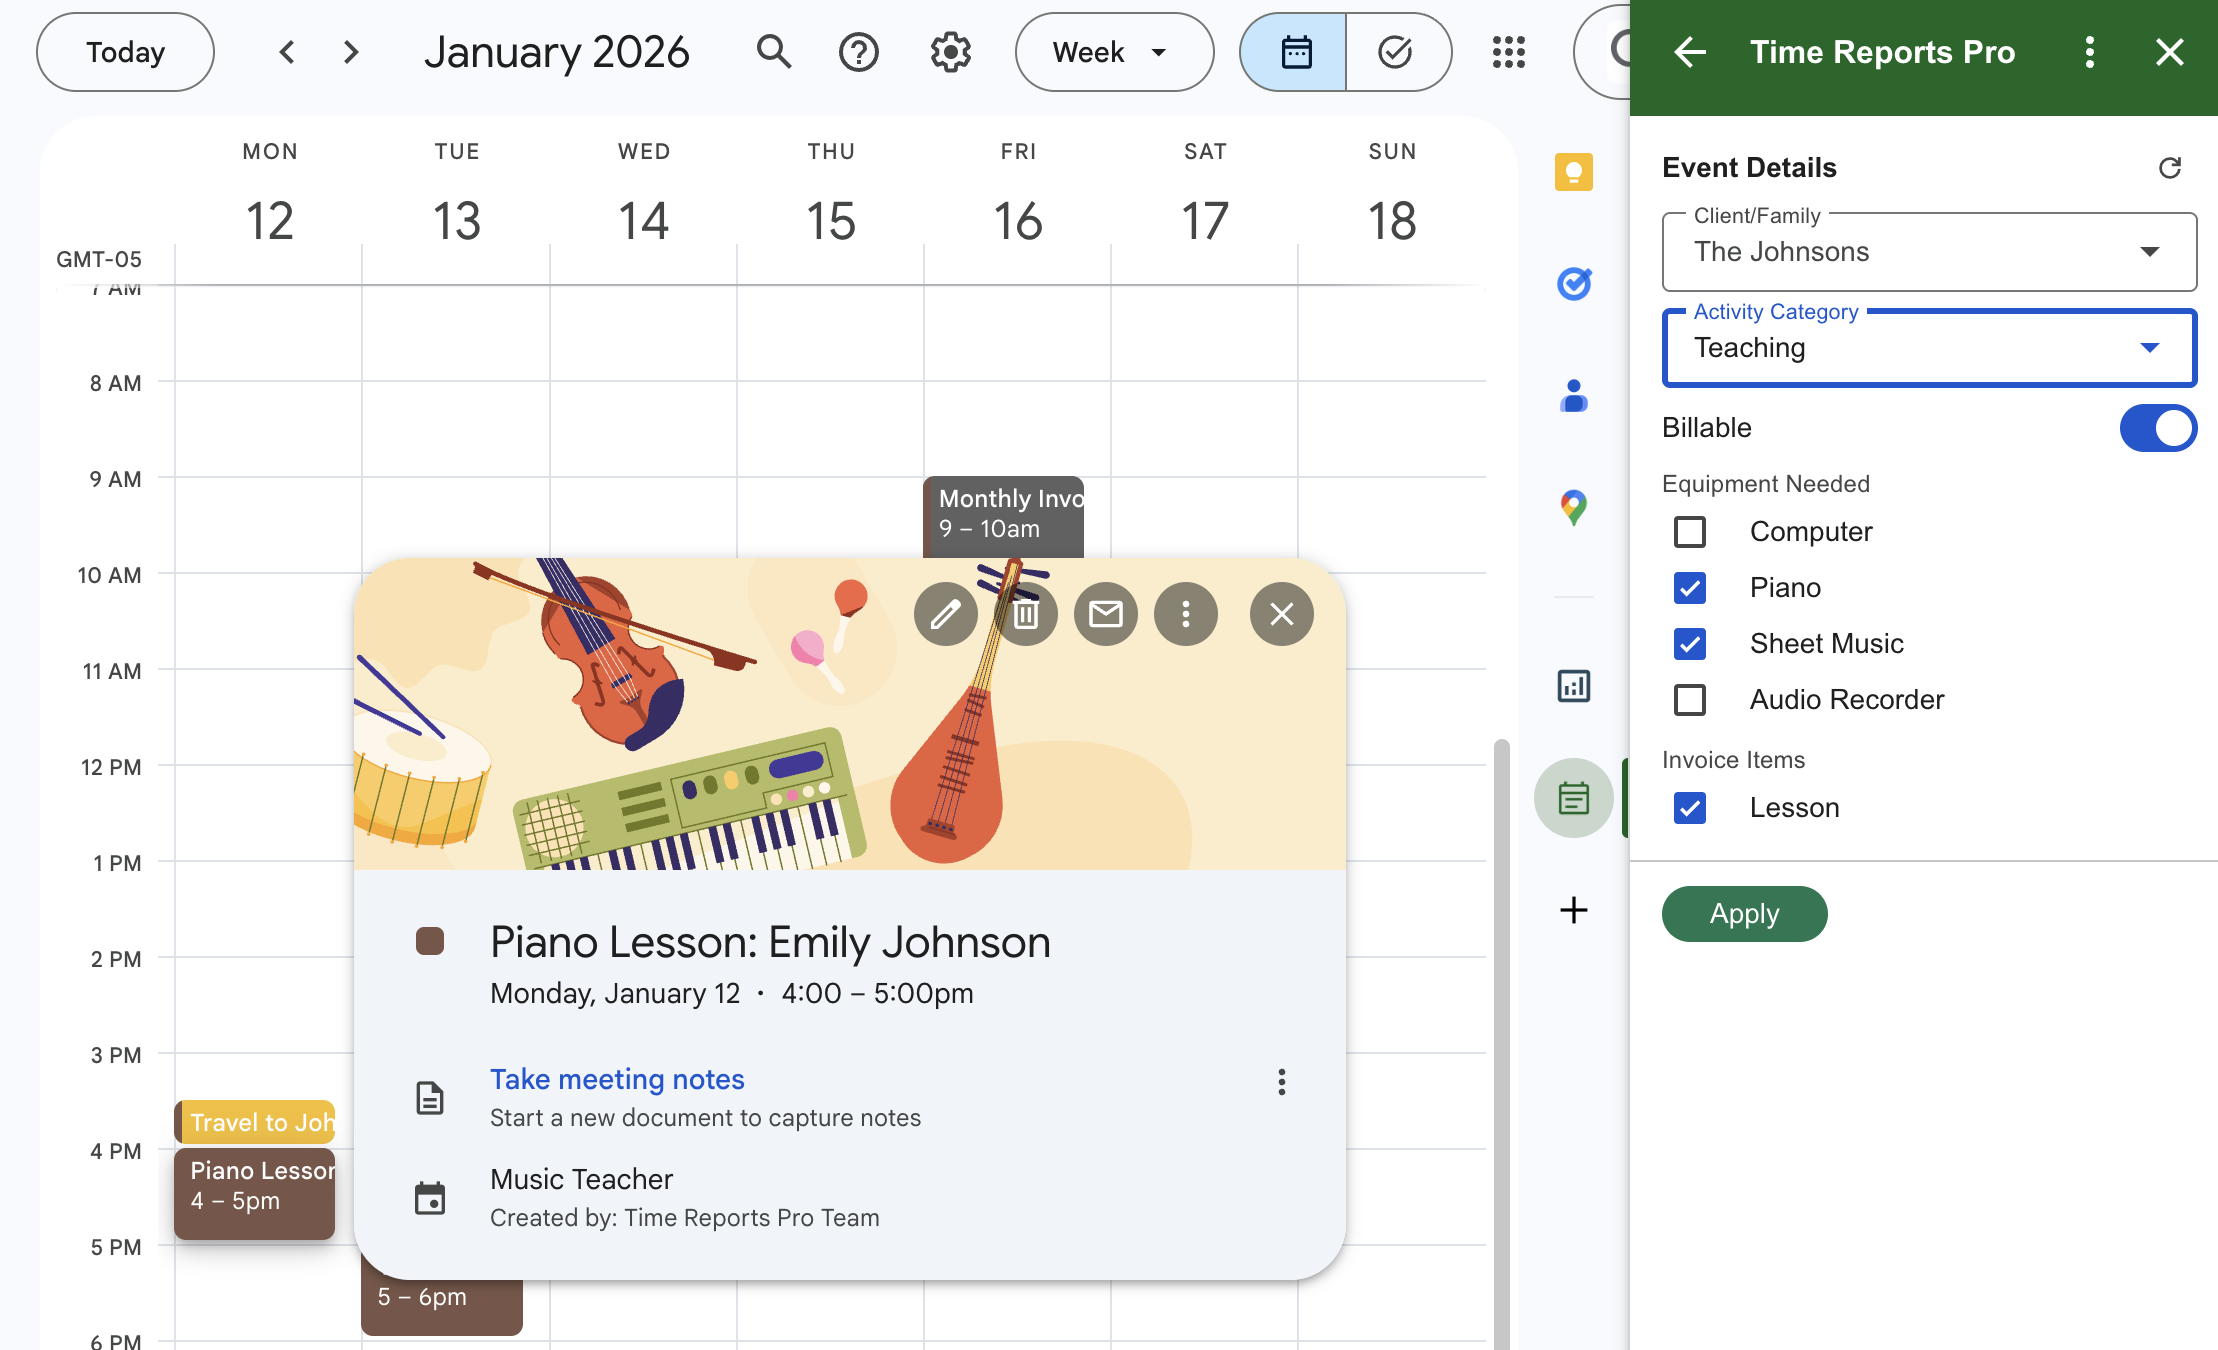
Click on any event in your Google Calendar™.
In the Time Reports Pro sidebar, look for your Product Catalog (in screenshot below it’s labeled “Invoice Items”) field.
Check the box for the service you provided during that meeting.
Apply the changes in the sidebar.
Pro Tip: If you select an item priced "Per Hour," the app automatically calculates the cost based on the length of your event!
Step 3: Generate the Invoice
Once your events are updated and you’re ready to invoice your client, close the event detail window in Google Calendar™ so the add-on returns to the Home Dashboard.
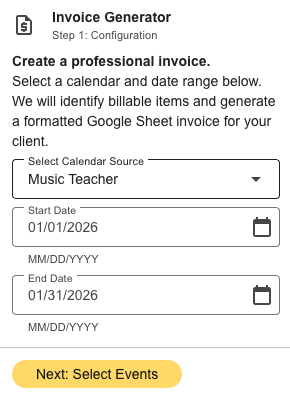
1. Click "Create Invoice.”
2. Select the Calendar and the Date Range you want to bill for.
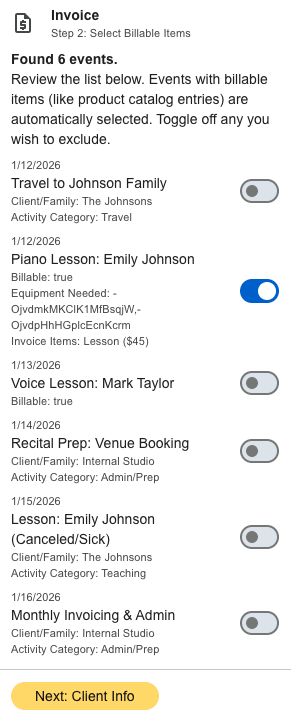
3. Unselect any events that you do not want to include in the invoice and click Next.
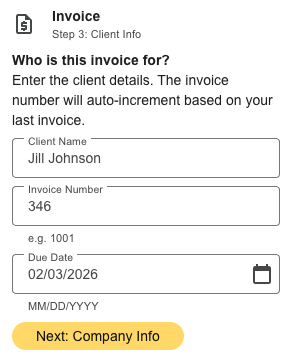
4. Enter the Clients Information, Invoice Number, and Due Date. The invoice number will auto-populate from the previous invoice number. Click Next.
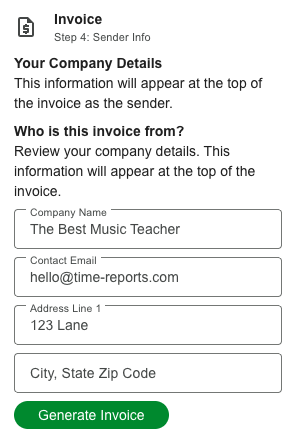
5. Enter your Companies Details and click Generate Invoice.
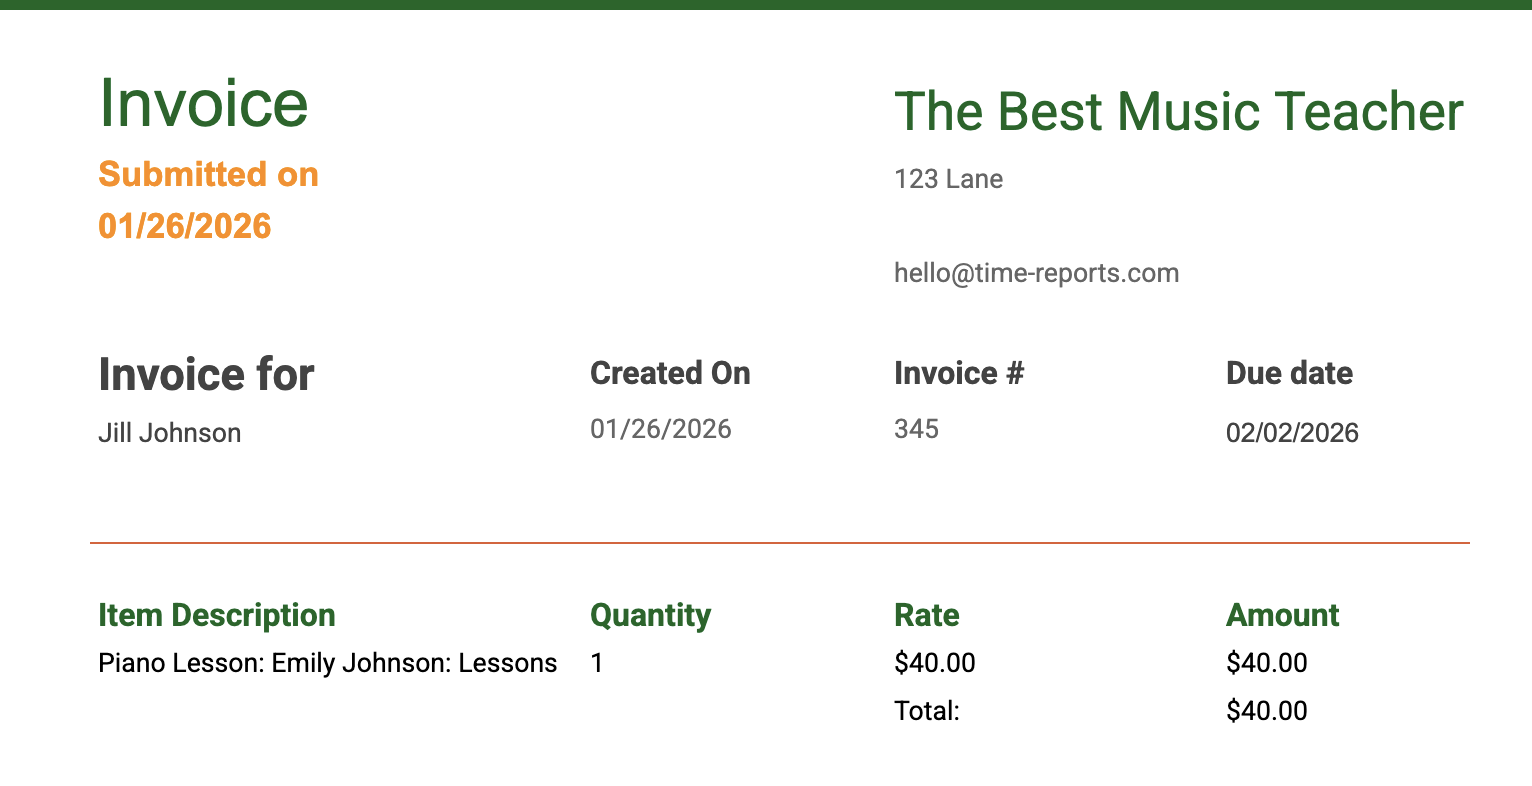
6. Click Open Invoice Sheet to open and export your formatted Invoice to Google Sheets™, ready for you to share with your client via PDF.
FAQ’s
-
This usually happens if no events in the selected date range were tagged with a Product Catalog item.
Go back to your calendar grid.
Click an event.
Ensure you have checked a box inside your Product Catalog field.
Try generating the invoice again.
-
Yes. Your Product Catalog can contain a mix of items.
Per Hour: Multiplies the rate by the event duration (e.g., Consulting).
Flat Fee: Charges a one-time price regardless of time (e.g., Travel Fee).
Quantity: Allows you to enter a specific number (e.g., 3 Widgets).
-
The invoice is generated as a Google Sheet and saved to your Google Drive. We also save a link to it in your add-on history under "Recent Reports" so you can find it later.