Teams Reference Guide
This guide provides a comprehensive walkthrough of the Team features, designed to help managers standardize billing, synchronize reporting fields, and manage shared calendar resources.
1. Getting Started: The Team Dashboard
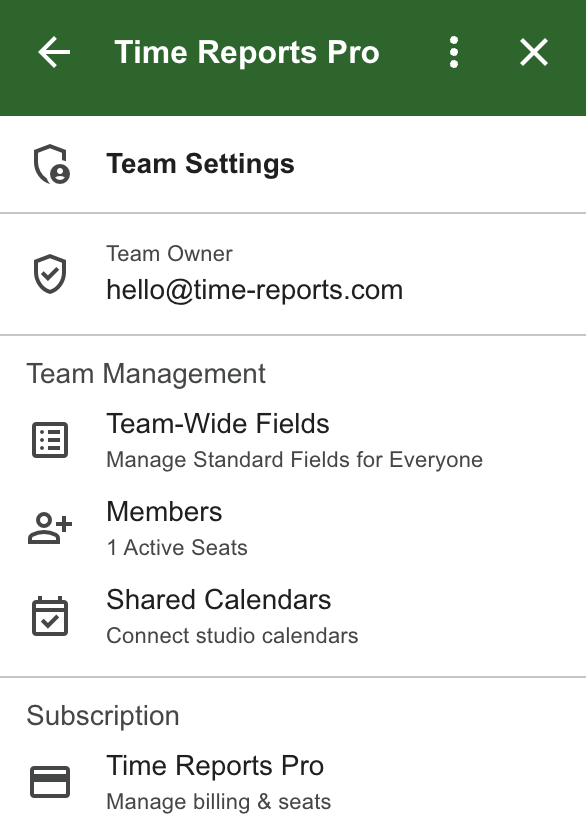
The Team Dashboard is your central control tower. Based on your role, you will see a different interface:
Admins/Owners: Access full management tools, including billing, members, and team-wide templates.
Members: See their membership status, team manager contact info, and personal billing alerts.
💡 The "Dangling Trial" Alert
If you join a team but still have an active personal trial or subscription, the app will show a Personal Billing Management alert. This ensures you are not double-charged by prompting you to cancel your individual plan while the Team handles your new professional license.
2. Inviting and Managing Team Members
To grow your team, you must invite users via the Members manager.
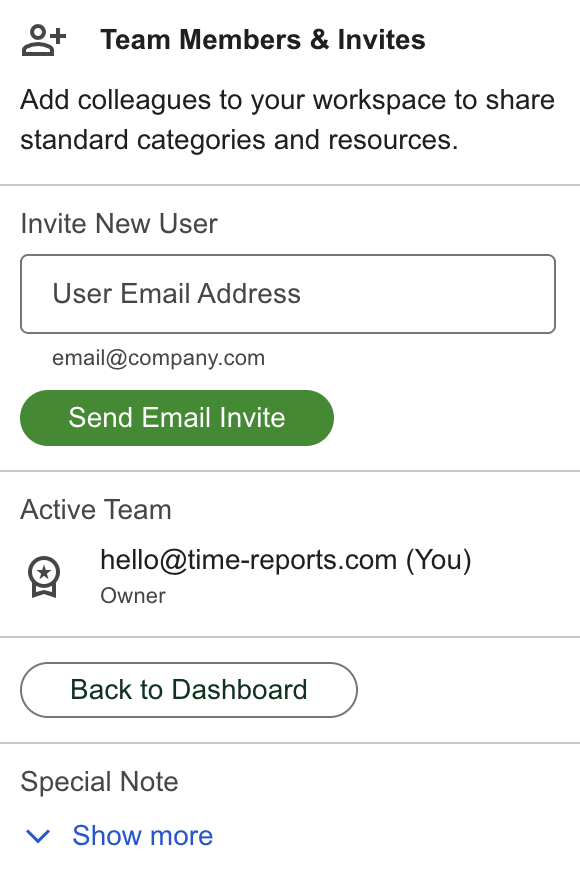
How to Invite a Member:
Navigate to Team Dashboard and click Members
In the Invite New User section, enter the colleague’s email address.
Click Send Email Invite.
Note: Once an invite is sent, it will go into a section labeled Pending Invites. If an invite was sent to the wrong address, use the Cancel button to revoke the code that the user will receive in their email.
Managing Active Members
Active Team List: Shows everyone currently on your plan.
Removing Team Members: Admins can click Remove to instantly revoke a user’s access to team-wide fields and shared calendars. This also frees up a seat on your billing plan.
3. Standardizing Data: Team Wide Fields
One of the most powerful features of the Team Plan is the ability to enforce "Team-Wide Fields." This ensures every employee uses the same categories (e.g., Project Codes, Billing Status) on their own primary calendars.
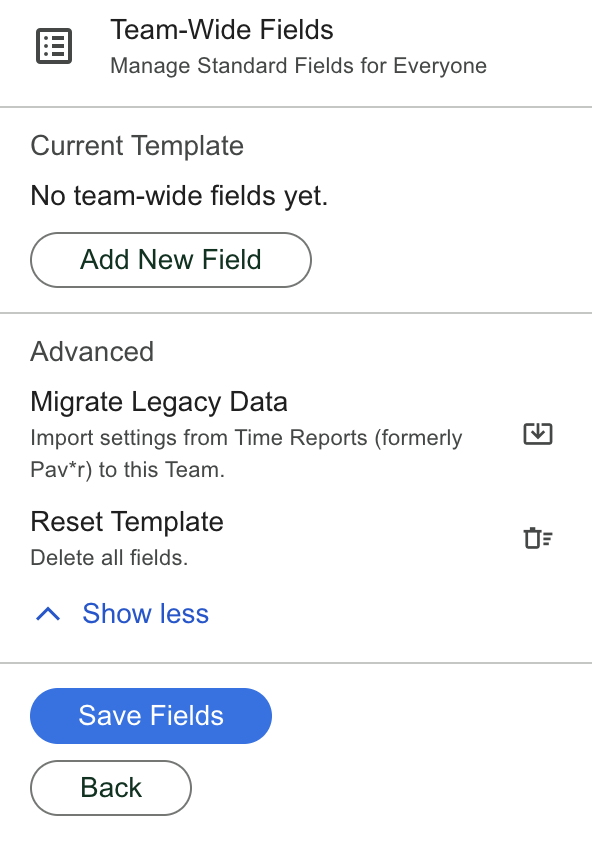
How to Setup Team-Wide Fields:
1. Click Team-Wide Fields on the Admin Dashboard.
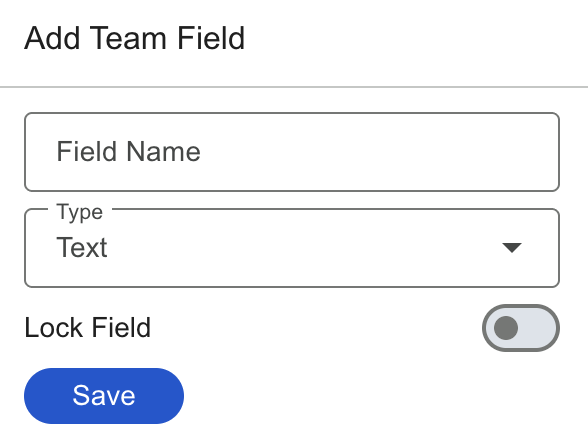
2. Click Add New Field to create a category (Text, Dropdown, Toggle, or Product Catalog).
The "Lock" Feature: When creating a field, toggle Lock Field. This prevents team members from changing or deleting that specific field on their own calendars.
Save & Push: Once your fields are ready, click Save Fields followed by Save Team Wide Fields. This "pushes" the configuration to every member's account.
4. Shared Calendars (Resources)
Shared Resources allow you to manage studio, equipment, or project calendars that the entire team needs to access and report on.
5. Administration & Migration
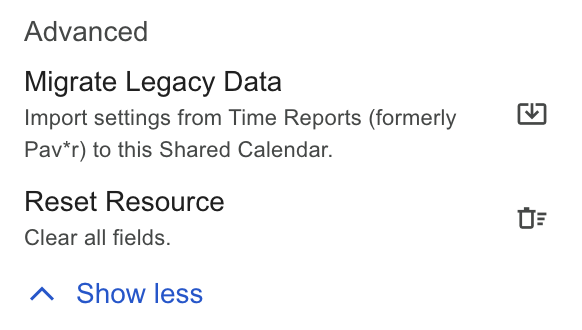
Legacy Data Migration
If you are moving from an older version of the app (Time Reports formerly Pav*r), use the Advanced section found in both the Template and Shared Resource cards. Click Migrate Legacy Data to import your existing settings into the new Team structure.
Subscription Management
Clicking the Plan widget under the Subscription section will navigate you to Manage Subscription. From here, you can access the Stripe Customer Portal to add seats, update payment methods, or view invoices.
Tip for Teams: For the best experience, ensure all team members have completed their initial "Setup Wizard" after joining. This connects their primary calendar so the Team-Wide Fields can be applied successfully.
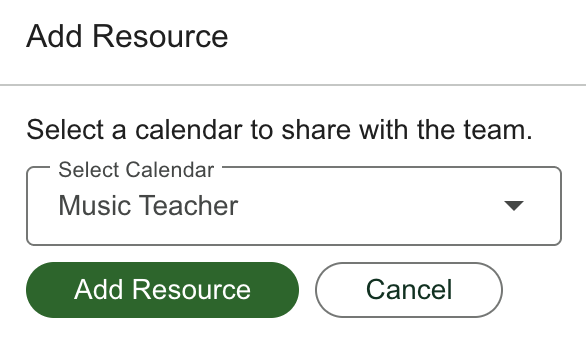
Setting Up a Shared Calendar:
Go to Shared Calendars > Add Shared Calendar.
Select a calendar from your Google account that you wish to share.
Click Add Resource.
Configuring Access (The "Assign All" Logic):
Inside the settings for a specific Shared Calendar, you have two ways to manage access:
Assign to Everyone: Toggle this switch ON to ensure every current member (and anyone who joins in the future) automatically sees this calendar in their reporting list.
Restricted Access: Toggle this switch OFF to reveal a checklist of team members. Check the boxes for only the specific individuals who should have access to this resource.
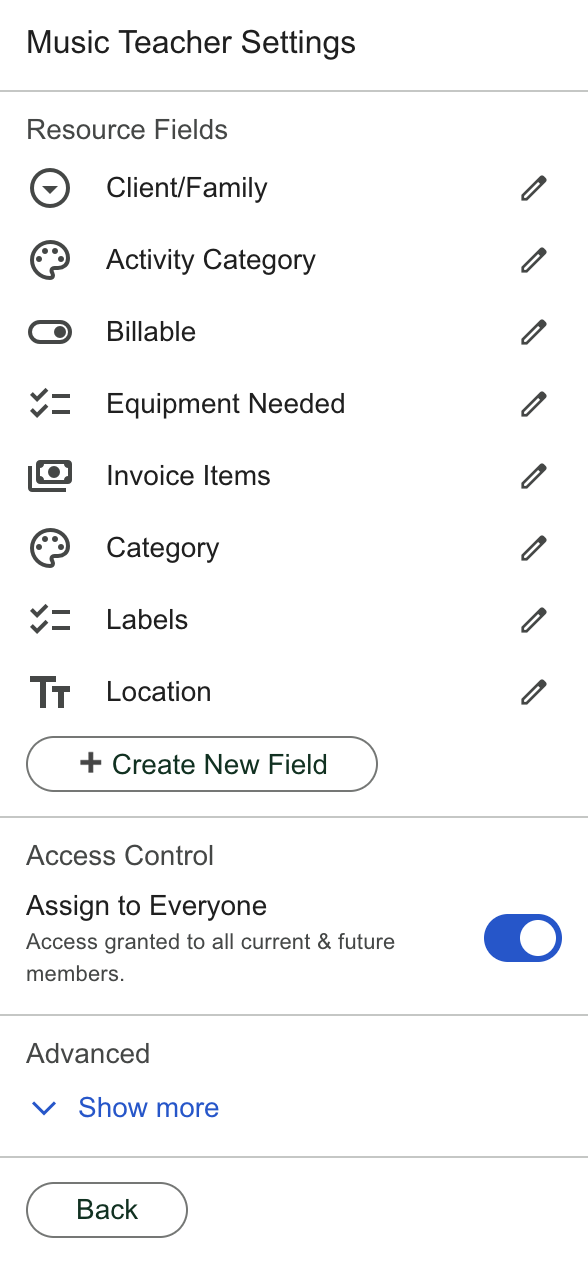
Resource-Specific Fields:
Shared Calendars can have their own unique fields separate from the Team-Wide template. Use the Resource Fields section within the calendar configuration to add specific tracking categories just for that calendar.